
Good SEO practices are necessary to connect searchers to your content. This means optimizing all your content – not just the text copy but images as well.
Images can have their own unique SEO value and can connect with traffic that comes from image search instead of the standard web search in Google. In fact, adding images to your pages and blog posts can help improve the overall SEO for the page. We are visual creatures and images help to break up text and, well, give us something else to look at. They are also very useful SEO tools.
Don’t overlook the value of Google Image search in your SEO practices.
I received a message this week from a British blogger who had found an image from my post Five Days in the United Kingdom and was interested in using the image in a post for her company blog.
Whether or not that’s a good idea is something I will discuss in another post, but for now, it got me thinking about how this interaction happens.
What led this particular person to this photo and in turn, my website?
I’ve had this experience often enough and I know that the answer is that they are image searching on Google and finding my content. Because I suspected that was the reason this connection was made, I did my own Google Image Search on the keywords I would expect led to my image appearing in her search results.
The location in the photo that the blogger requested is popular enough to have lots of posts and information about it on the normal Google Web Search. I knew my website was unlikely to rank at all for this place in a standard Google search. It can be very hard to outrank travel blogs, large news publishers and other sources that can get top ranking for several pages into the Google search result. Besides, the topic of my post where the photo sits is not specific to this place, but about London in general.
When I switched to Google Image search, there was my image, on the first page of search results. Not at the beginning of the list, but quite close to the top.
This is a good example of how images can have their own value in helping your website be found on Google.
It’s important to remember – especially if what you do or sell is in any way visual – to apply good SEO practices to images in the WordPress Media Gallery. You are best to do this as you are uploading new images, but you can always go back into the Media gallery and make these SEO improvements at any time.
Key Factors in the SEO value of images:
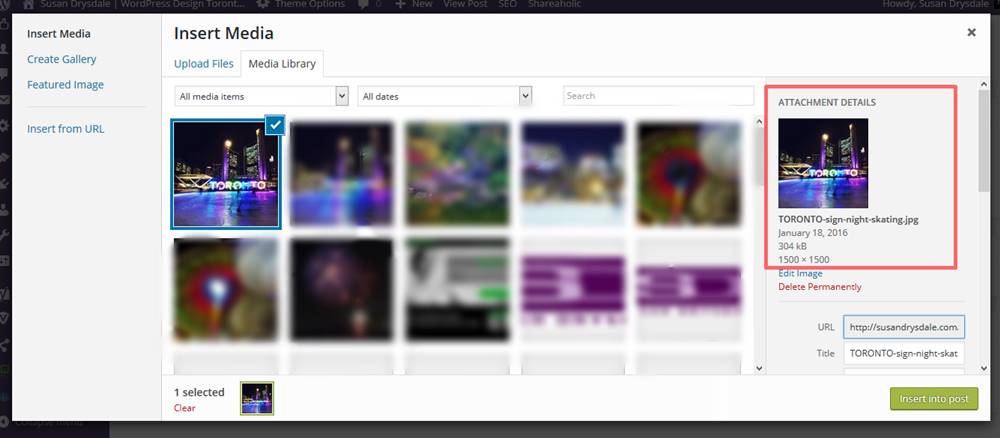
We’ll use this image of the TORONTO sign I took recently as the example of good SEO habits.
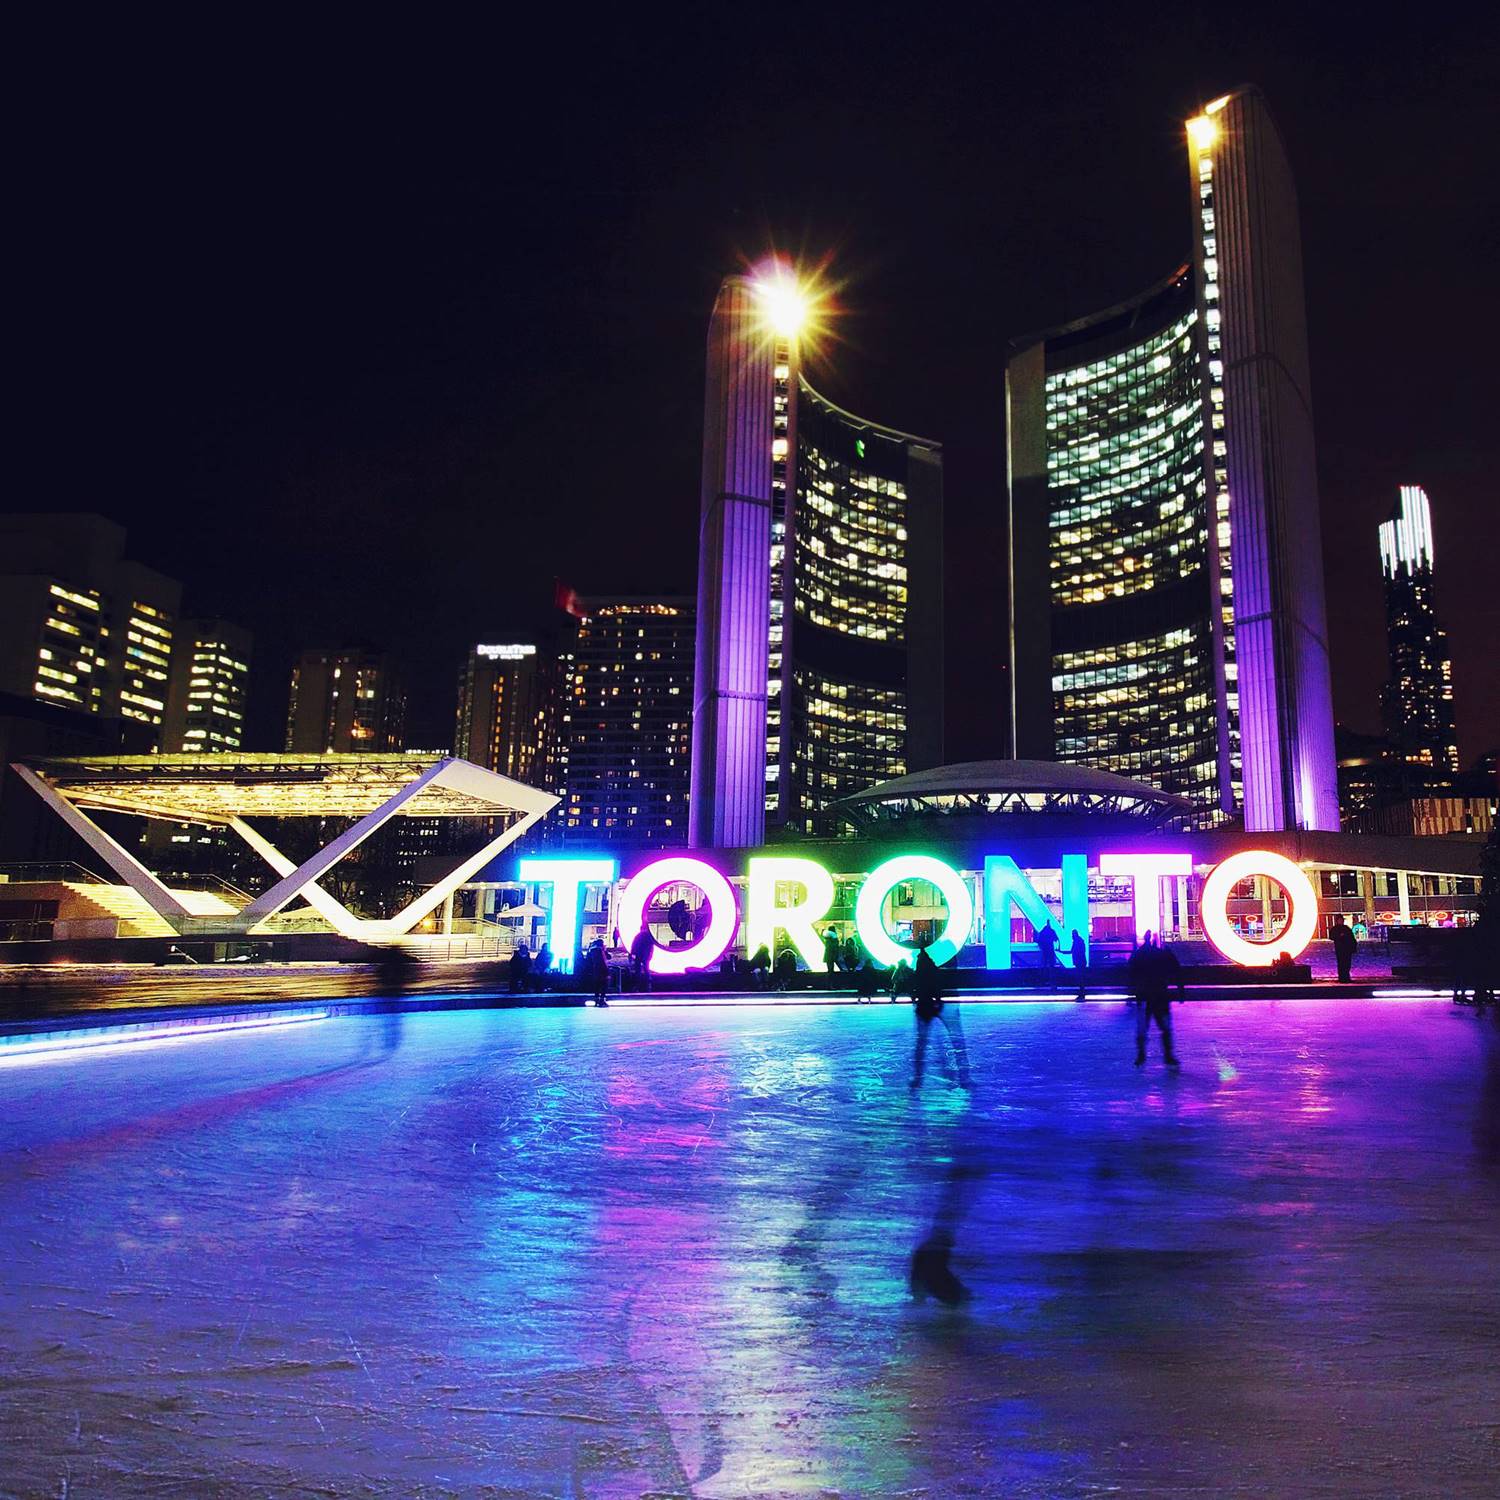
Night skating in front of the TORONTO sign
1. The file name of your image
Before you upload anything into WordPress you will need to edit and prepare the file.
Start with figuring out what keywords you want to associate with the image and be specific when adding those words to the image file name.
If I had just called this “Toronto-night” it’s not going to rank very well – that’s a very broad term, not specific to this location. Adding “sign” will help return results of the lettered sign in front of City Hall, and “skating” is going to help place it with other images of people at the skating rink and with images from winter.
This particular image of mine may not be ranking yet on Google, but if you searched the terms I’m using you will definitely come across lots of images that look like it.
Keep in mind that once you upload the image to the WordPress media gallery, you can change the other attributes for the image, but you cannot change the image file name, so if you forgot to name an image properly before uploading it, you really should delete it, go back, rename the file and uploading it again.
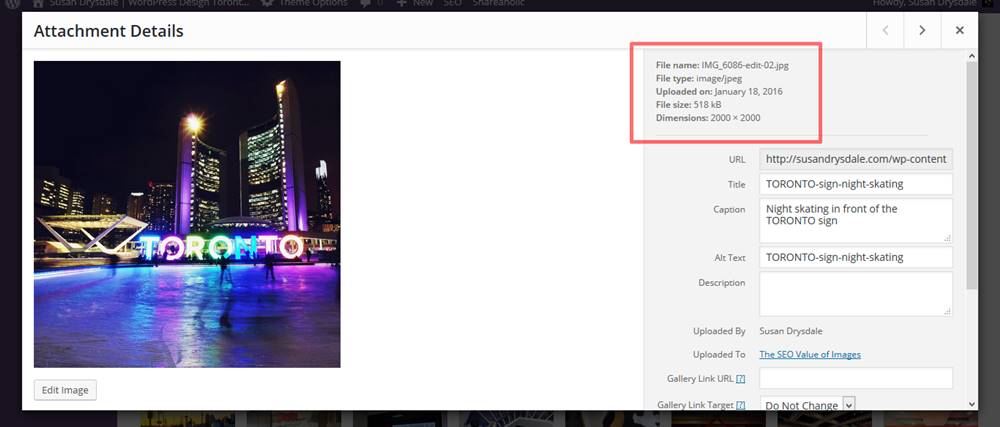
Poor File Naming. Be sure to save image with an SEO friendly file name BEFORE uploading.
For this image I’m using the keywords:
“TORONTO sign night skating” so the file name: TORONTO-sign-night-skating.jpg
When renaming the images, I’m making sure that these words are in the file name. Make sure to leave out “stop” words like “the”, “a”, “of” as they have no value because they are far too common in the English language. Also, put the words in the order that matters. TORONTO is first, because any other word first isn’t going to take me straight to this sign.
It’s also a good habit to separate the words in the file name with hyphens. WordPress used to do funny things to images that had spaces in between words. I’ve noticed recently that the hyphens are now inserted into those spaces automatically when uploading to the Media gallery. That’s a big improvement, but I still try to remember to add the hyphens when naming, before uploading. It’s just a good habit to get into.
If you aren’t sure what to name your image, run some google searches first to see what’s coming up for various terms.
2. The title of your image
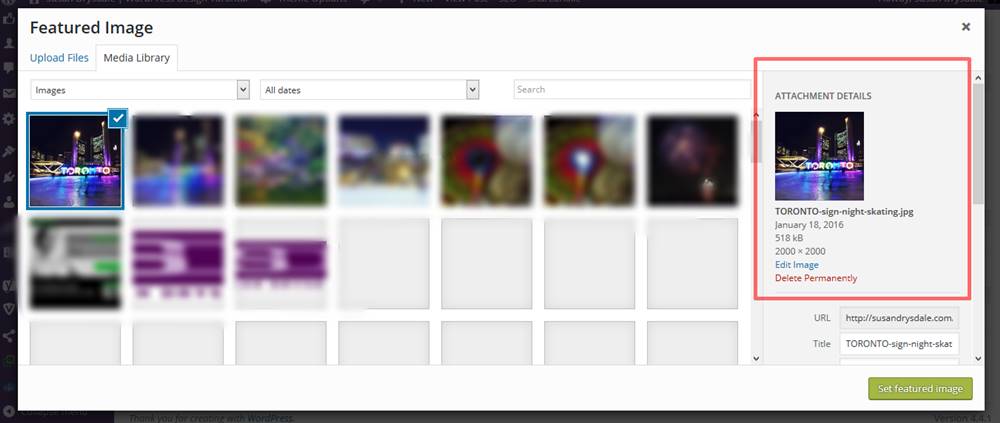
When uploading to the WordPress you will be given the opportunity to add/edit the Title of the image. The default is the pull the image name as the title. If you’ve properly named your image before uploading, this image title will be fine. If you’ve not done that, you can always edit the image Title in the WordPress Media Gallery afterwards.
Just make sure those important keywords are in the title.
3. Alt tags on images
Again, as the image is uploading you can add this info. Alt Tags are very important, especially for connecting with bots and crawlers that look for this bit of info. Alt tags info is what allows these web crawlers to “see” your image and is one of the most important factors in image SEO.
4. Image Captions
This is where I have altered the format of the keywords a little.
The reason is that TORONTO-sign-night-skating doesn’t read very nicely with the image on the page. Find a way to keep the keywords in the caption, but make sure it’s going to look good to your blog readers. Bots are important, but humans are more so. Don’t sacrifice the human experience just to speak to bots.
If you want the image to display without a caption, you can skip this, but image captions can really help readers understand the details of your photos. I often come across images on websites that I wish had captions, or that the person who posted them had told me a bit about the location, or other details that might be useful. I know they say a picture says a thousand word, but adding three or four of your own words to bring context to the photo can make it that much more useful.

Be sure to fill in the details in the fields provided
5. The image size and weight
When preparing your images, be sure to save a copy of the image to preserve the original file. You never know when you might need to go back and use that image somewhere else.
Resize the image to a web-friendly size. I generally recommend 1500px wide so that the image can be viewed well at full-screen size on a large, wide-screen monitor or even a TV (because we can browse the web on SMART TVs nowadays!).
If, however, you know you want your image to display at a smaller size on your page, then save it smaller before uploading it. It’s not great to ask the browsers to resize an image from 1500px down to 250px, if that’s the size you are going to choose it to be on the page. But, if you aren’t sure, than the 1500px width has worked well for me and in most cases I’ve encountered.
When saving the image, make sure to optimize the file by reducing the weight of the file as well as the dimensions of the file. The smaller the better. I recommend not more than around 500KB. Under 100KB is ideal. Many photo editors will allow you to choose a “save for web” option. Others may have a percentage value option for compression. For displaying on the web you don’t have to be too concerned about losing resolution when shrinking your image. This is really only a concern for images going to print. Find the balance between looks good and loads quickly.
Keeping your file as light as possible makes it load faster on the page, which is very important. It also makes it more able to be indexed. Google tends to pay less attention to large images files.
Using low-res images also makes them a little less useful to thieves. They aren’t going to be useful for reproduction in print.
If you are concerned about your images being swiped and used improperly then make sure that you only display low-res files on your website.
If you are really concerned about image security, then save your image at an even smaller size – like 500px wide. This will further limit how large the image can be printed successfully. It’s not going to be possible to use an image for printing a billboard or even a t-shirt if it’s low-res and only 500px wide.
That doesn’t mean that it can’t be stolen and republished on the web, but at least you’ve limited the options.
6. The rest of the copy on your page
While this is about images, the place where you post your image can have an impact.
For instance, I’m not going to get good SEO for my example TORONTO photo with this post, because this post isn’t about the “Toronto sign night skating” – it’s about image SEO value. Although, the more I keep using those words on in this post, the more Google is going to look at the overall content of the post and connect that phrase with this post and image. In most cases your page/post content would relate more specifically to the images in the post.
Other things to keep in mind with images:
Should you take extra steps to protect your images from being stolen?
There are so many stories out there about people whose work gets knicked and used without their knowledge or permission. The blogger who requested my image had the decency to ask, but many don’t.
It’s a legitimate concern for photographers who publish their original works online. If you want to protect your work, there are some extra steps you can take, although I generally tell people the simple fact is, if you publish it on the web, it can be stolen. So, if you really worry about that, just don’t publish it online.
Watermarks:
If you look at the big stock photo companies like ShutterStock you’ll see all their images have big watermarks across the entire image. This makes it really hard to do anything with it.
You can choose to do this as well, but it makes your image less attractive to your readers. Find a balance between what looks good and what protects your work. But don’t be fooled into believing that the watermark protects you absolutely. If someone really, really wants to, they can edit a watermark out of an image. It will take them a long time, but it’s not impossible for someone proficient with image editing.
If you just put a watermark at the edge of the image, it won’t be very hard to crop it off.
Plugins:
There are also plugins that can prevent anyone from right-clicking and downloading your images from your WordPress site. Some themes also offer this as an option. At one point I was using the No Right Click Images plugin, but it hasn’t been updated in a long time and that can lead to problems. If you are going to use a plugin for this, make sure to use with caution and test thoroughly.
And remember that anything that is displayed on the web can be screen-captured, cropped, edited and republished, so not even disallowing right clicks will fully protect you. It just prevents the download of the full-sized image.
Your WordPress website allows you a lot more control over images than when you upload them to social media sites, so use the control you are given to maximize the SEO value of images and you’ll see the results.
Related Articles
A good video about Image SEO from moz.com
The Pros and Cons of Watermarks

Thank you Susan – this is a tremendous help, everybody has to start somewhere and this makes the path of frustrations, much easier to navigate!!!